GOM PicUser Guide
Home Screen
Storyboard Edit Mode
This mode allows you to quickly and intuitively edit only the key content (images and text) in a template and instantly preview the results.
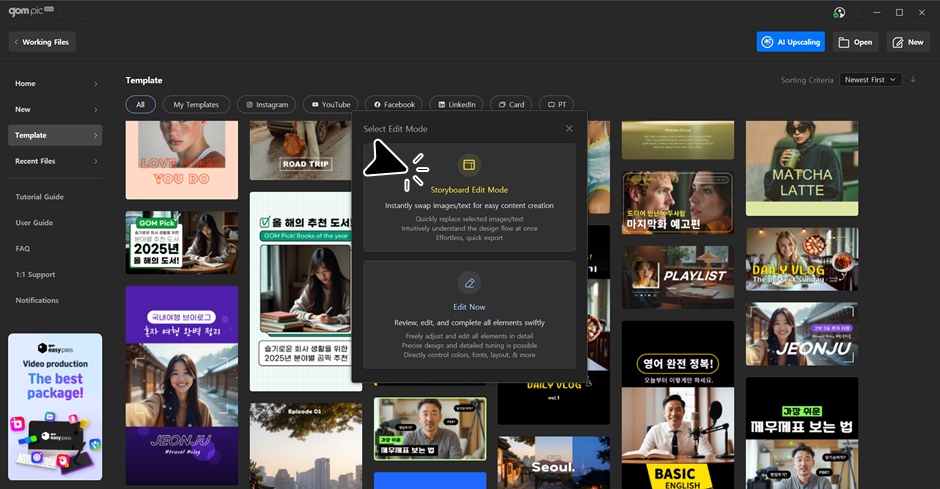
1. Start Storyboard Editing
When you select a template, click the “Storyboard Editing Mode” button in the “Select Editing Mode” window to enter the mode.
2. Replacing Images and Text
When you select an image or text on the canvas, the editing tab for that element appears on the right panel.
In Storyboard Editing Mode, only designated images and text can be edited.
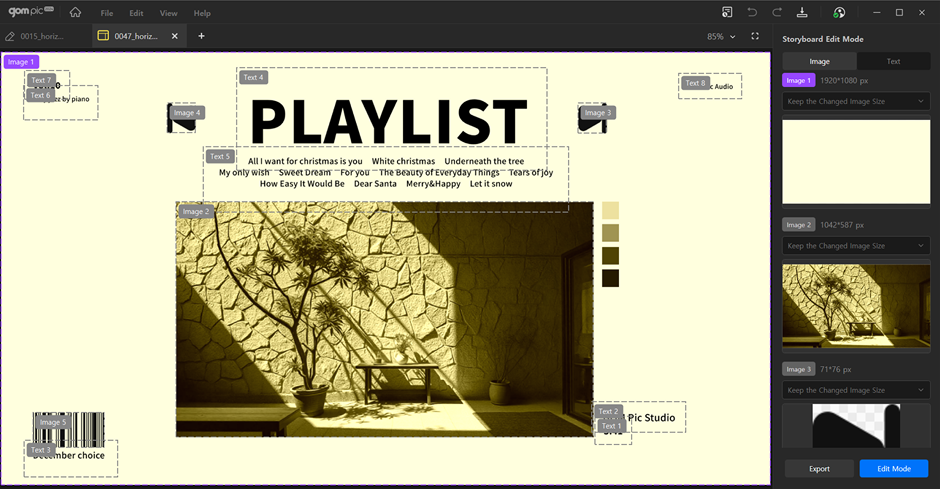
3. Replacing Images
- 1) Select an image: Click the image you want to change on the canvas. The right panel switches to the Image tab, showing the current image’s size and thumbnail.
- 2) Change images: Click the “Change Image” button and select a new image from the file explorer.
- 3) Resize options: If the size of the selected image is different from the existing image, you can choose the desired resizing option from 'Keep Changed Image Size', 'Fit to Width', and 'Fit to Height'.
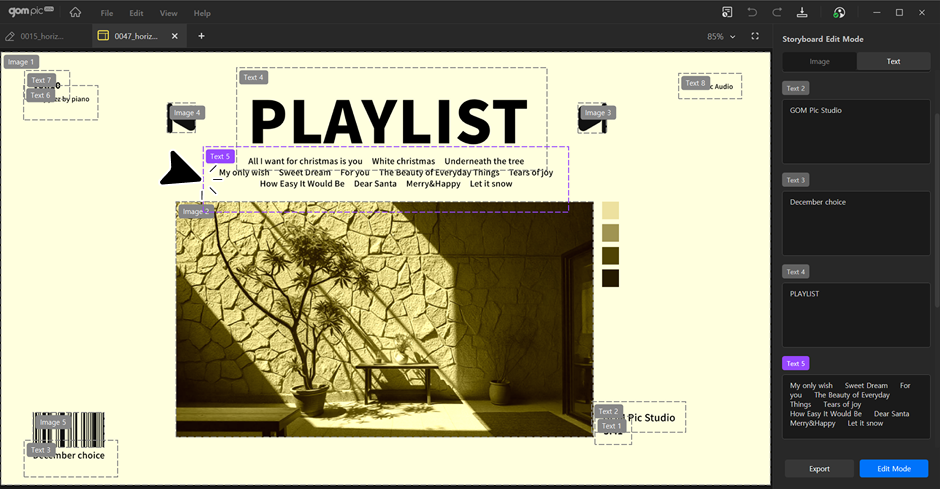
4. Replacing Text
- 1) Select text: Click the text you want to change on the canvas. The right panel switches to the Text tab, and a text input box appears.
- 2) Change text: Enter new text in the input box, and the change will be reflected on the canvas in real time.
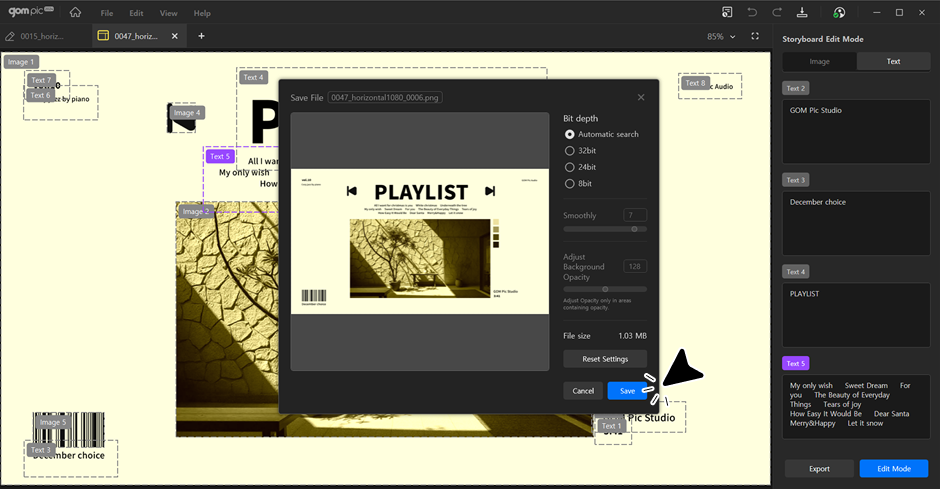
5. Exporting
When editing is complete, click the “Export” button to save the result as an image file.
6. Switching to General Editing Mode
After finishing the storyboard editing, you can enter the general editing mode with the current changes applied by clicking the 'Edit Mode' button at the bottom of the screen.